This question has been VERY common among newer film shooters and I know the struggle because I asked this question myself. Maybe you get your film developed at walmart and all your receive back are prints and a CD the big question is how do I turn these digital? Well it's simple. First of all ditch Walmart film developing and send your film to a professional film lab that can develop and make digital copies of your photos for you. My preferred lab for all of my bigger projects is The Darkroom Lab. (https://thedarkroom.com) These guys can develop your film and give you digital copies starting at $11! The best part is you can download your pictures right after they process your order so you don't have to wait for your CD to come in the mail.
If this is still not your route maybe you like getting the prints back or even better, you develop your own film here's how to make your film photos digital!
The Scanner
This is the secret tool to turn your negatives from analog into digital format. If you will be scanning purely negatives this is what you'll need.
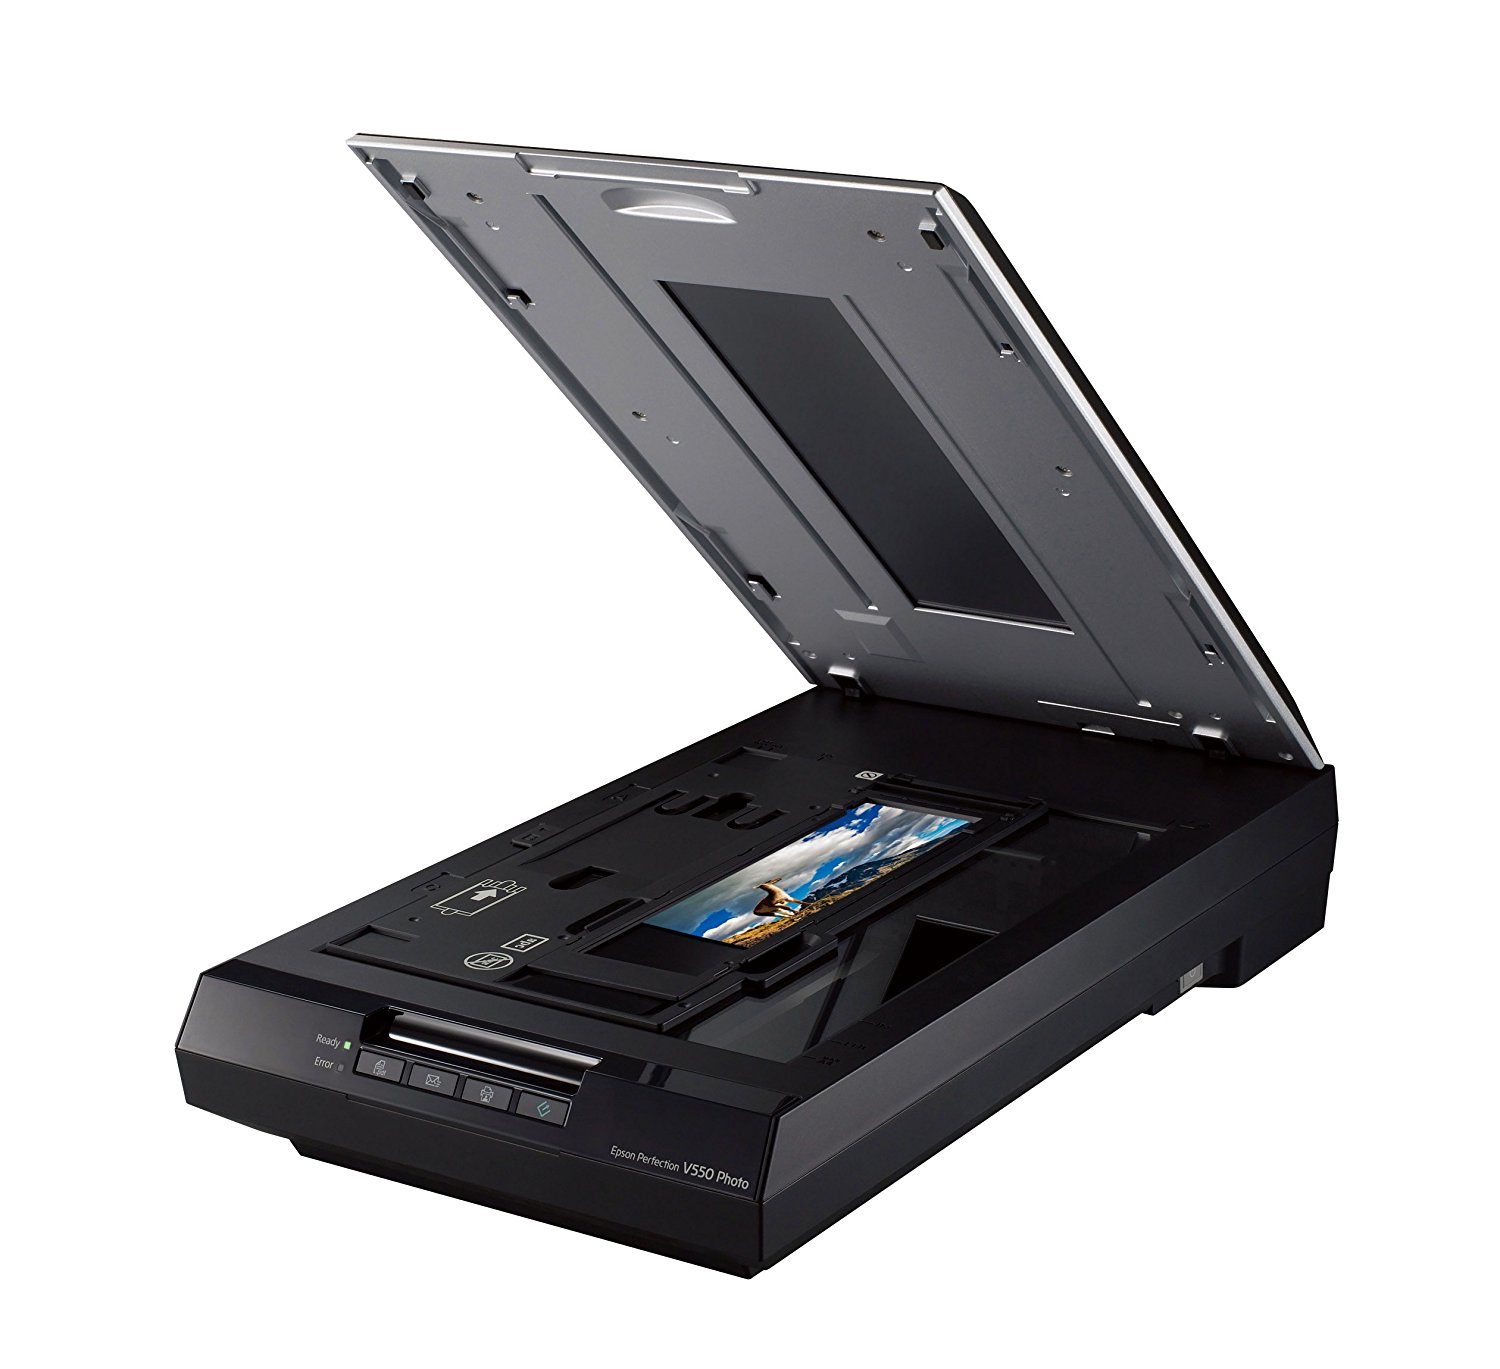
1.) Flat Bed Scanner - There are various different scanners with different features from epson, canon, etc. At the end of the day they're all pretty similar and have one job to do. SCAN THE FILM.
The first variant of the scanner and also the most popular is the Flat bed scanner. Epson makes a killer line such as the epson v500, v550, v600. Super simple and intuitive. To scan the film you would have to use negative holders which are little plastic containers that will hold your negative in place when scanning. These are generally very versatile because you not only can scan negatives BUT if you made prints from your film photos you can scan those as well. The DOWNSIDE to the flatbed scanner is the longer scanning times. Especially if you buy an older scanner you will find yourself sitting for maybe 3-5 minutes per frame depending on what resolution you scan it on. Flat beds are the CHEAPER option compared to the type of scanner we'll be discussing next. (Average Price for a flat bed scanner $80-250)
2.) Auto Scanner - The second variant of scanners include auto scanners such as the Pakon 135 or the Plustek Opticfilm. The benefit to these include FASTER scanning times because the scanners will allow you to load the film without having to fiddle with those film holders. They also will feed the film automatically. These are generally more EXPENSIVE compared to flat beds but another downside is that the dedicated auto film scanners usually are only for 35mm. So if you get into medium format and wanna scan some 120 film you're gonna have to either have someone else do it or buy a flatbed scanner. ($200-500)
Dust Blower
This is honestly one of the most important accessories if you'll be scanning your own negatives. The one I personally use is the Rocket blower which is simply just a hand pump with a tube at the end. Use this before you put the film into your scanner to blow off any dust the negatives might have collected. Trust me you don't want dusty negatives because once scanned you will see little hair like marks all over your photos. If you're lazy like me, please don't skip this step as its one of the most important.
Editing Software
A misconception about film photography is that after people scan their film they do NO editing to their images. They think the images will already look good right out of the scanner. Well that is a whole lie because after you scan film you will see the image looking very dull, sometimes colorless. Black and white film will almost look grey. Color film will look unsaturated. Your photos NEED to have colors and contrast and such adjusted. This is where a photo editing software comes into play. Some film scanning softwares will have built in editors that will allow you to make adjustments to your photos right away OR you could use a dedicated photo editor such as lightroom or photoshop. There are tons out there and you don't need anything fancy but to make it easy, I prefer Lightroom.
Please do keep in mind every film stock has their own characteristics and "look". You just have to work a little more after scanning your film to really pull those characteristics out. No two film stocks will be identical and that's part of the beauty of film! Every film has a different look :)
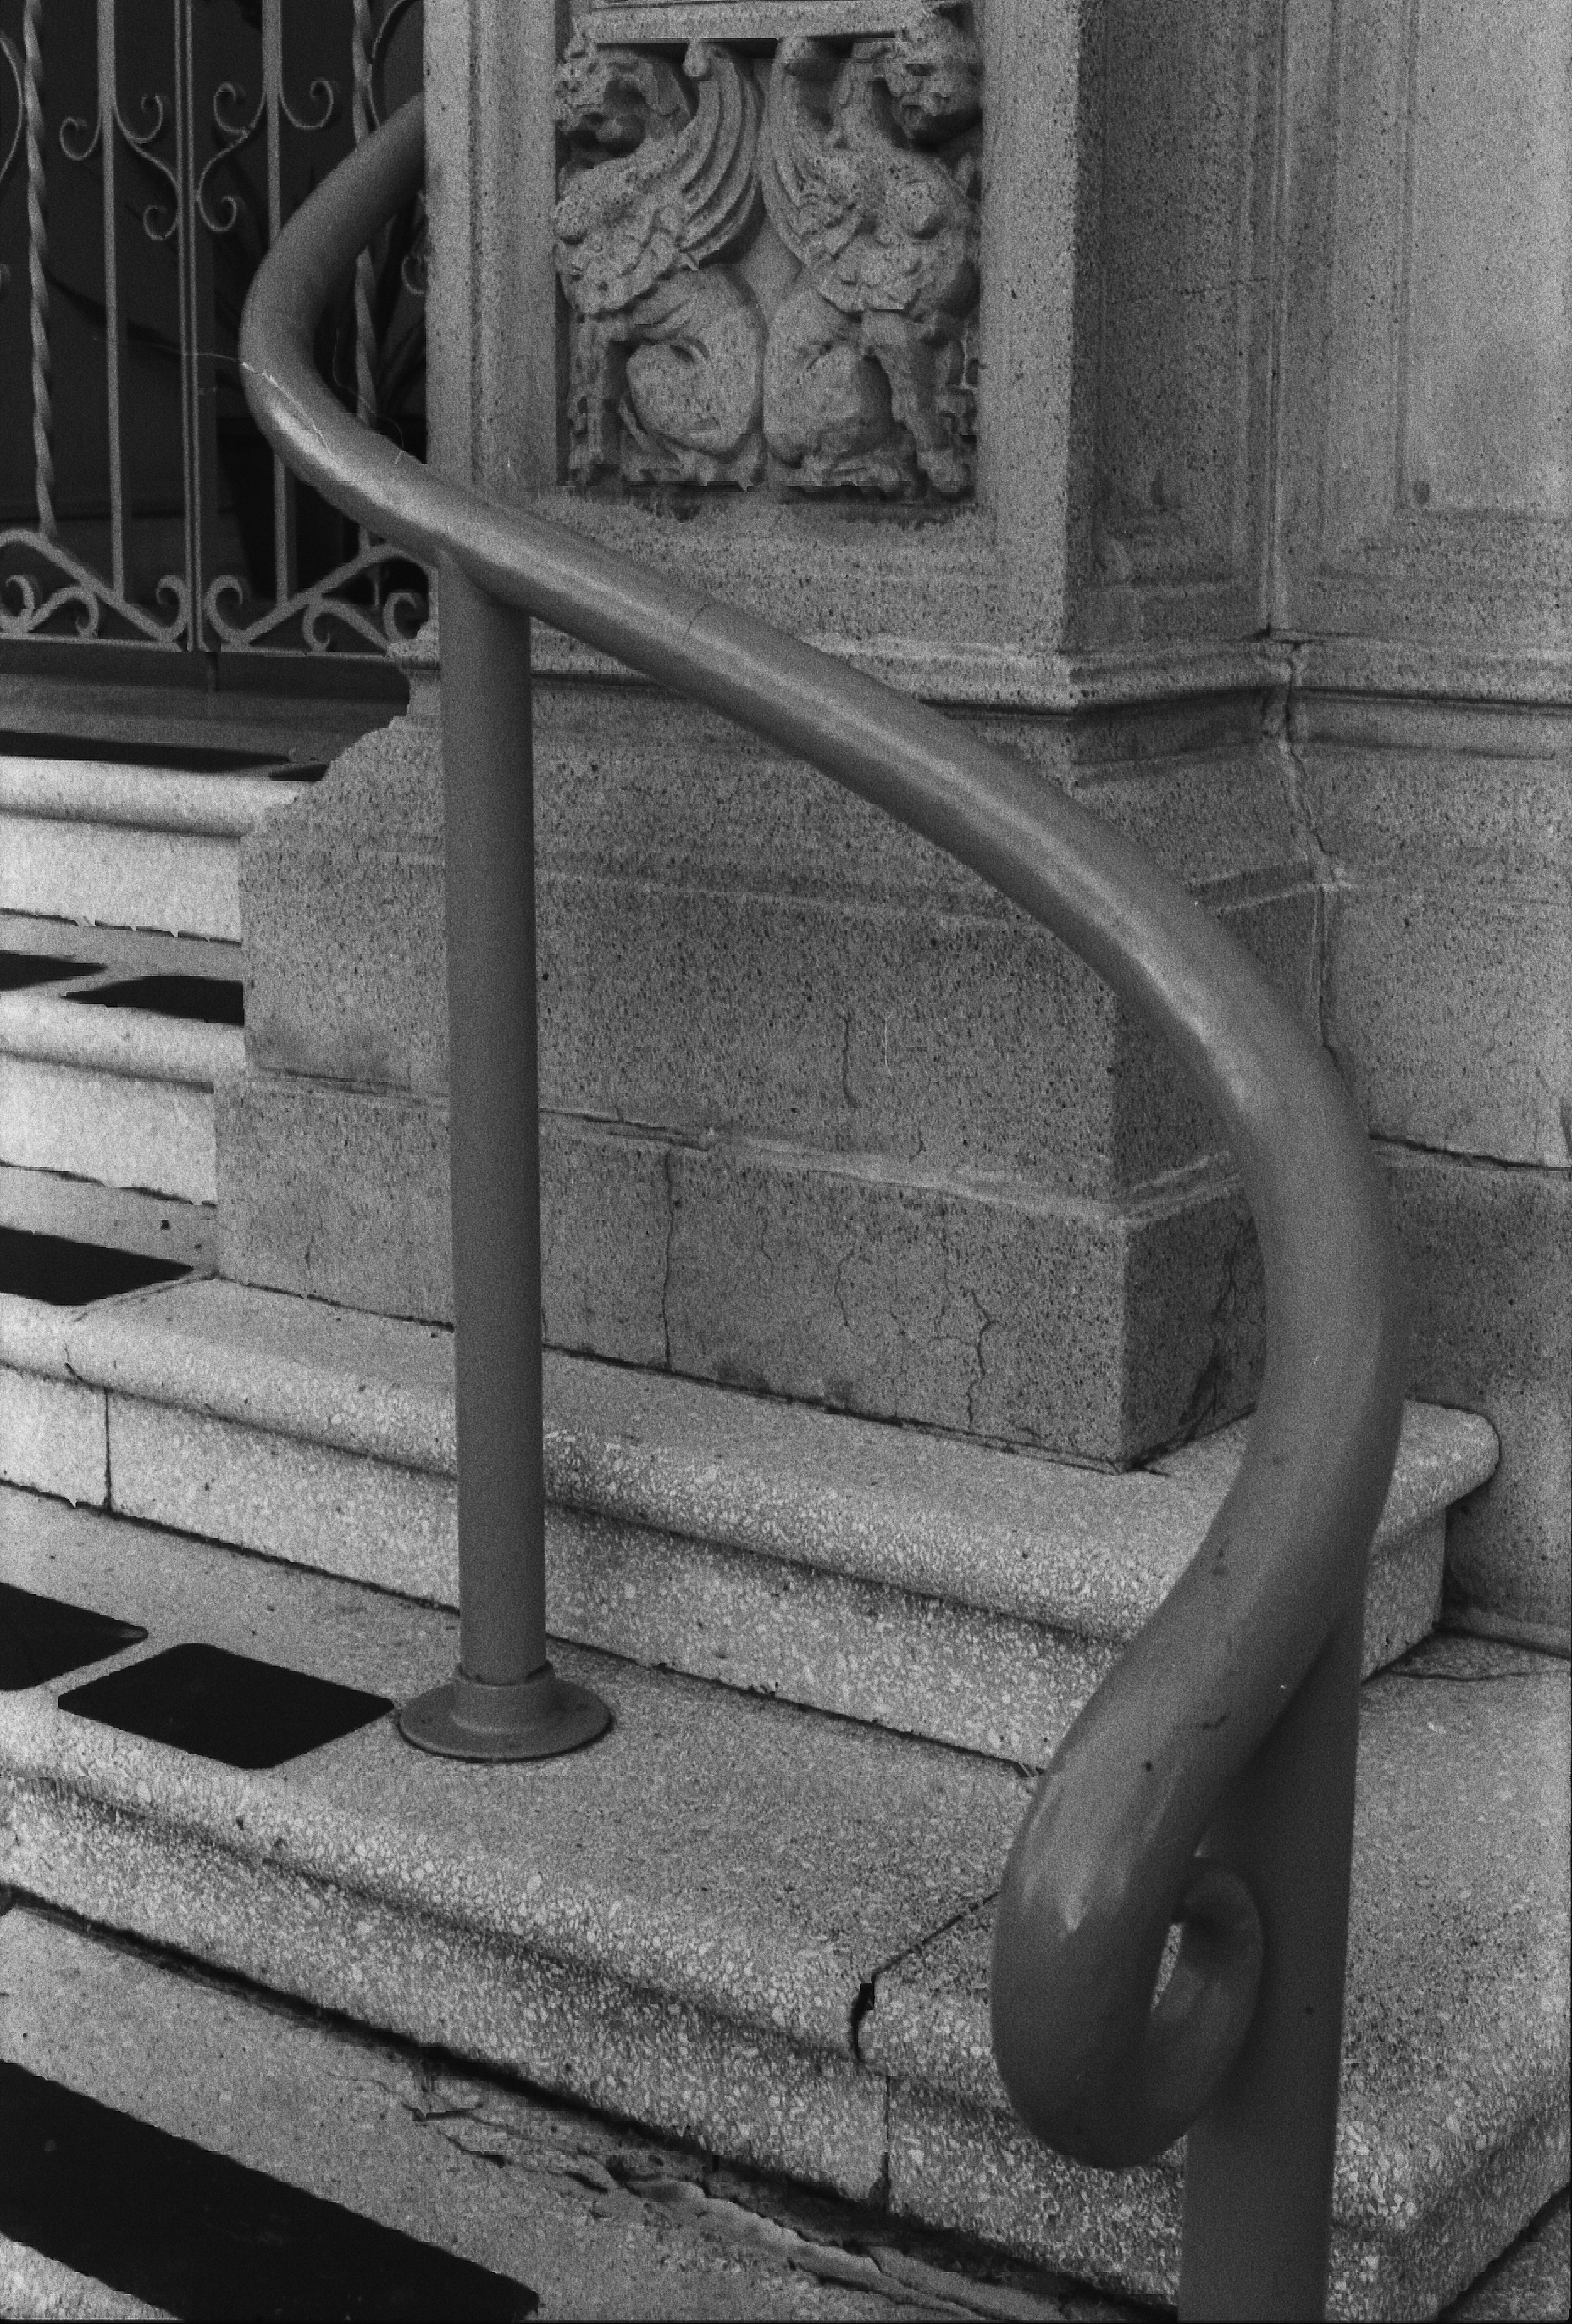
Straight From the Scanner (before)
This is what Ilford HP5 looks like straight from the scanner. As you see here it looks kinda dull. This happens with color film as well.
Slight Edit Adjusting Contrast and Shadow (After)
This is the photo after a quick edit using an editing software. Generally I usually only tamper with contrast and sometimes shadow but you make the decision yourself how much better the image looks after edited.
Those are the three main components to making your film photos digital, the scanner, dust blower and the editing software. The truth behind scanning is to develop a routine that works for you, invest in a scanner that will suit your needs. People think scanning is hard but it's not if you keep it simple. Simply your workflow, stay consistent and enjoy film! #MinoltaGang


